Parental Note: This experiment is geared towards ages 6 and up. The project may require some support applying glue and lighting/safely using candles with an open flame. Warning: paper is flammable. Keep the paper parts at a safe distance from the flames at all times.
Additional Note: This experiment will take roughly 1 hour to complete.
Experiment Overview:
Have you ever ridden on a merry-go-round or carousel at the carnival or a fair? These rides are powered by electricity to make them spin round and round, but there’s another way to power a carousel—convection. Convection is the motion of air, or a fluid, such as water, that is caused by differences in temperature. Heat energy is transferred from a hot place to a cool place through this process. Since a transfer of energy is occurring, that energy can be converted and used to do work.
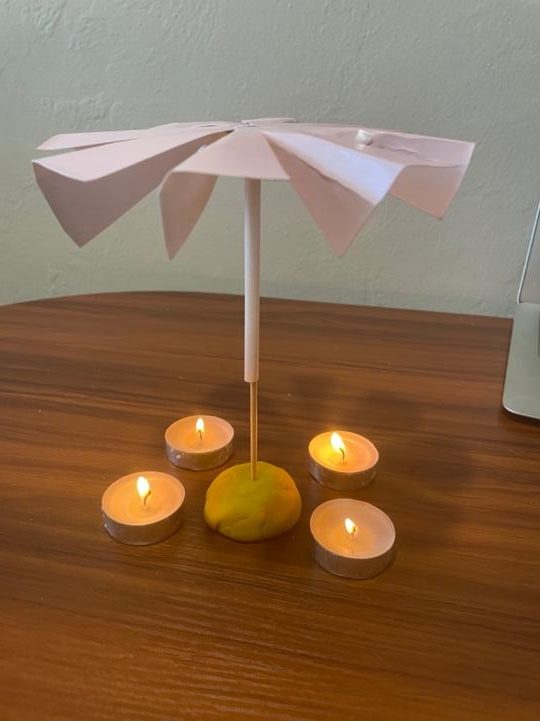
In this experiment, you will observe convection in action by using candles to power your own homemade paper carousel!
Experiment Materials:
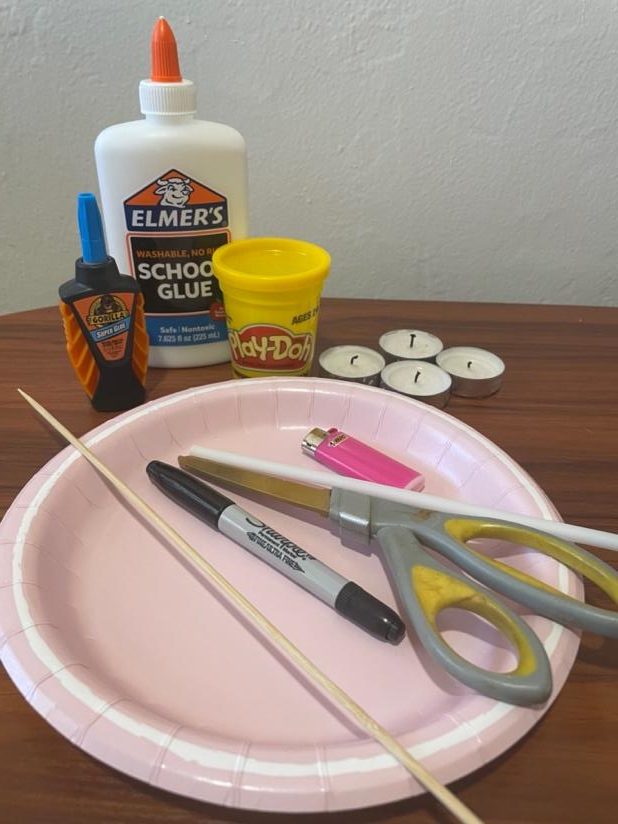
- Plastic straw
- Wooden skewer
- Play-doh
- Four tealight candles
- Lighter
- Small paper plate or construction paper
- Metal hex nut (should fit snugly around the straw). Can use a washer or other type of fastener as long as it fits snuggly around tip of straw.
- Scissors
- Glue
- Sharpie
Experiment Process:
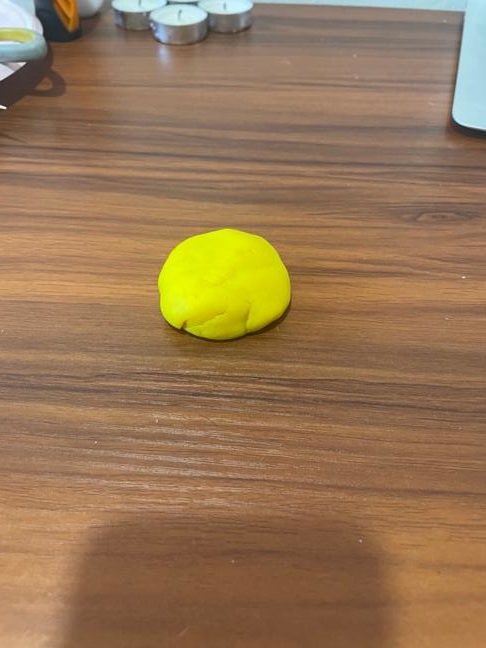
Step 1
Take the play-doh and roll it into a ball and stick it onto a flat surface, such as the floor or a table.
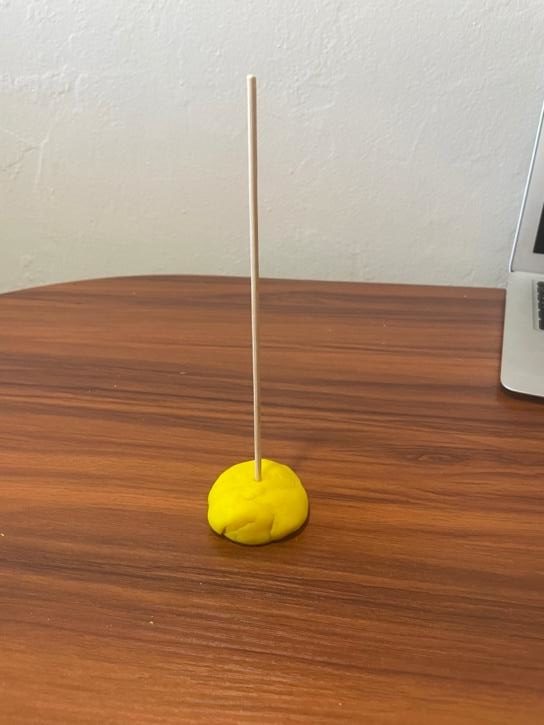
Step 2
Stick one side of the wooden skewer into the center of the playdough.
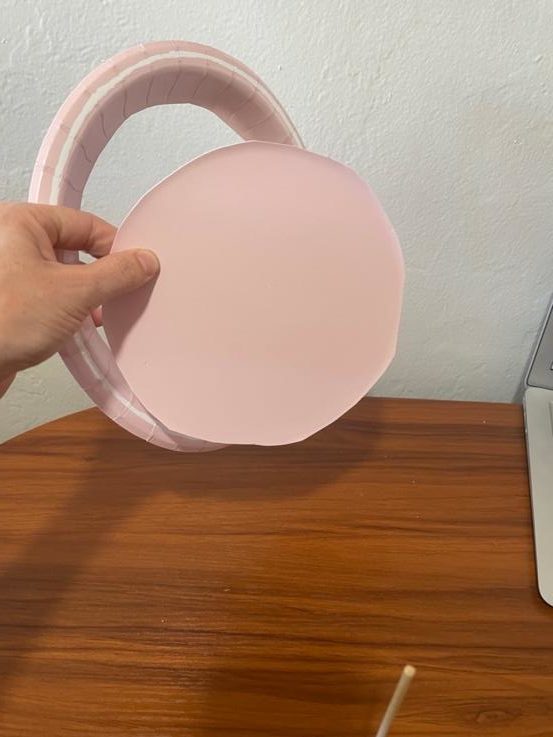
Step 3
Take the small paper plate and cut off the edges (the lip of the plate). If you prefer, you can cut out a circle from some construction paper or cardstock instead.
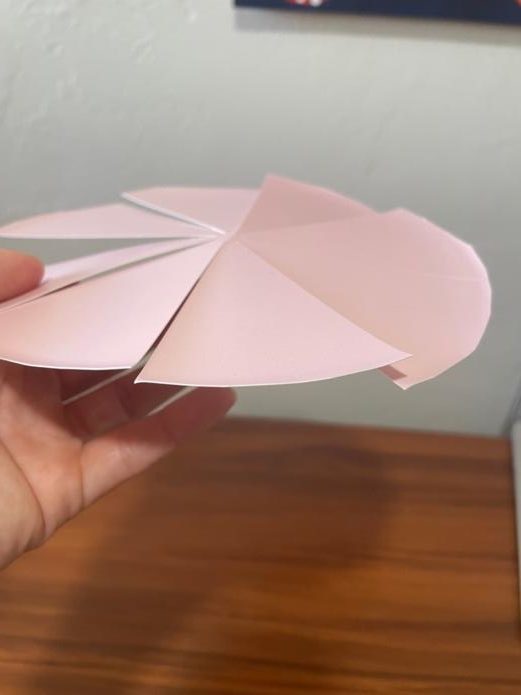
Step 4
Cut several diagonal slits to create the blades of your carousel. Be sure not to cut all the way through the center of the paper plate.
Step 5
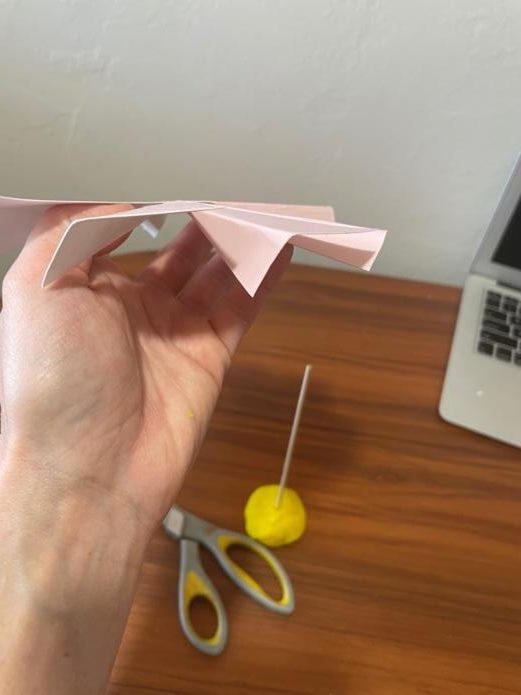
Bend the edges of each blade down about 30 degrees.
Step 6
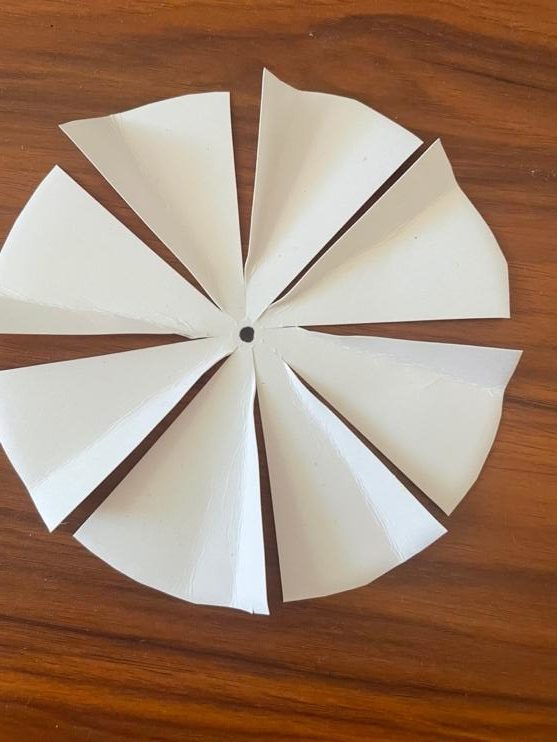
Use the sharpie to place a dot at the center of your carousel.
Step 7
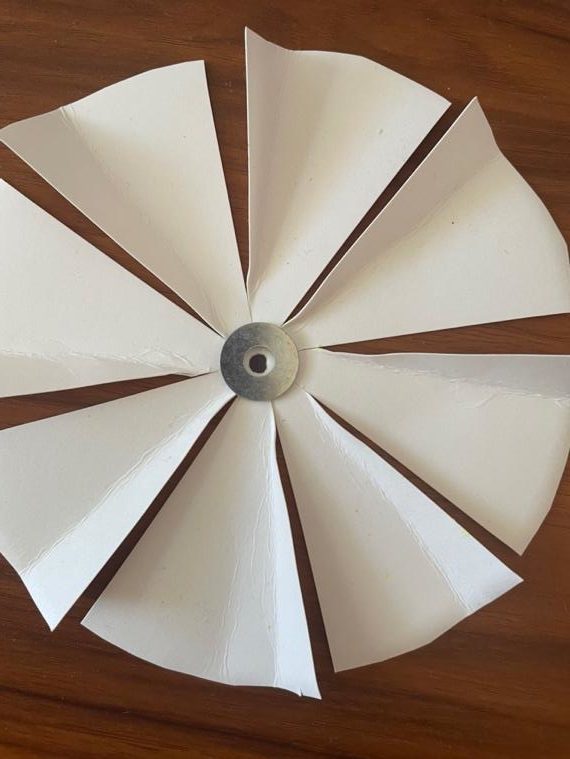
Glue the nut or washer onto the carousel right where you placed your dot.
Step 8
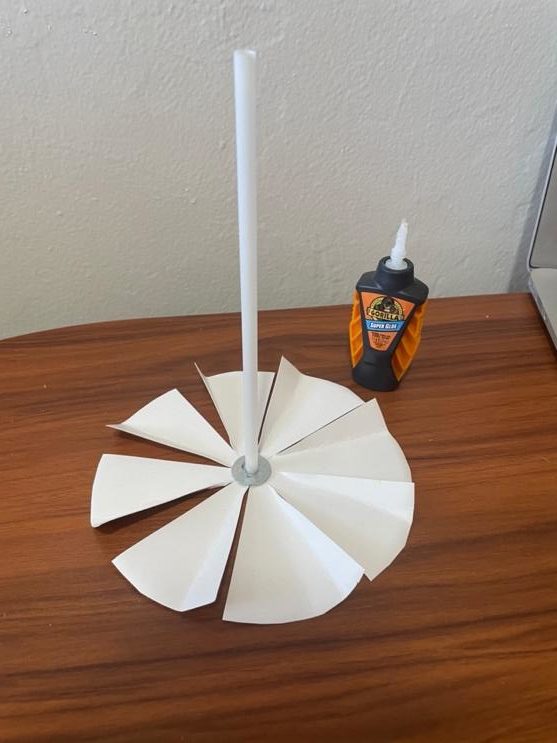
To attach your carousel to the straw, place the nut over the top end of the straw. It should fit snuggly. Apply some glue to hold it all together. Note: It is important to make sure that the straw is as vertical as possible. If the straw is not pointing straight up, the candle carousel blades will not work well.
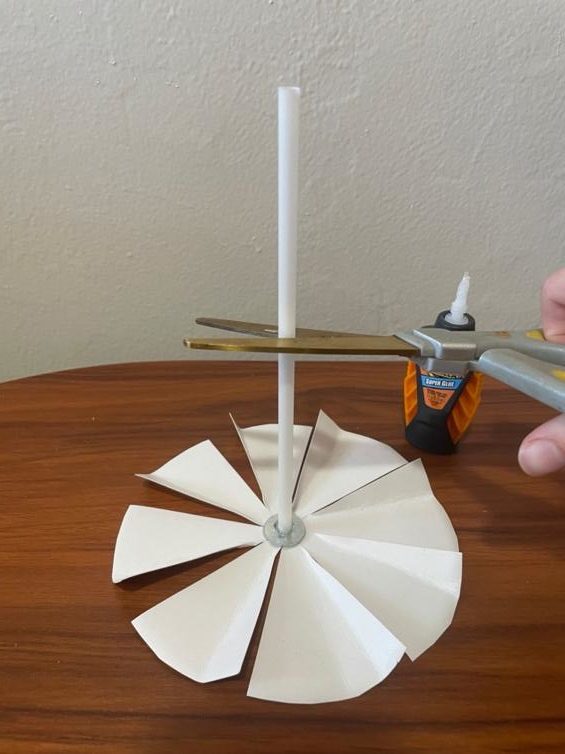
Step 9
After the glue dries, cut the straw so it is only about 3 inches long. Then slip the straw over the wooden skewer so that the carousel sits at the top.
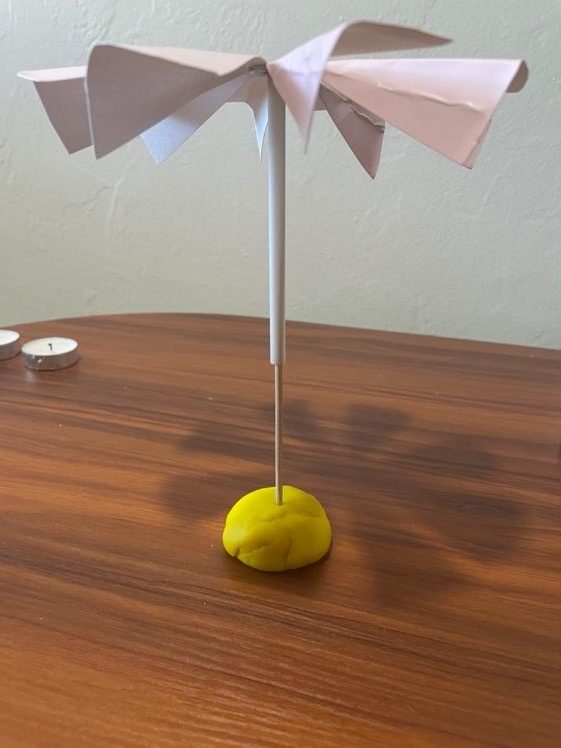
Step 10
Place one candle on the floor or table under the carousel.
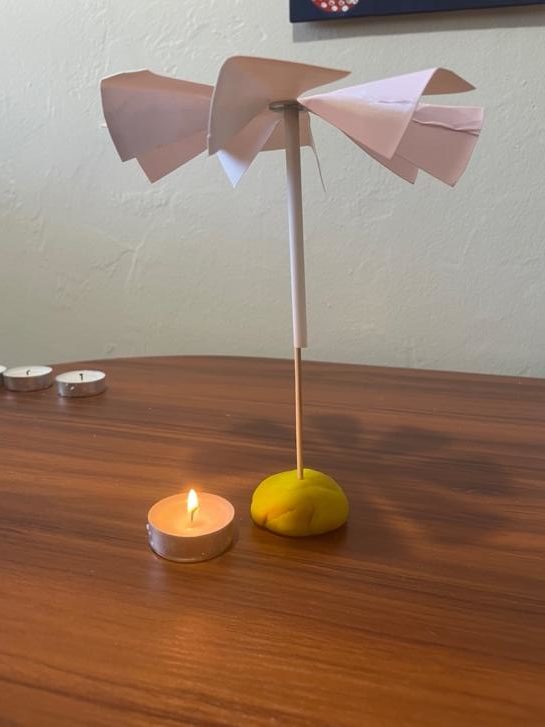
Step 11
Carefully light the candle and see what happens!Note: if nothing happens, try blowing out the candle and bending the blades of your carousel a bit more. You can also double-check that your straw is straight.

Step 12
Repeat steps 9 and 10 by adding one more candle and lighting it each time. Observe what happens each time you add another candle under the blades.
Share Your Results
What happened when you added one candle beneath the carousel’s blades? Did the speed of the carousel increase or decrease as you added more candles?
Conclusions:
So you might be wondering, how do the candles make the candle carousel spin? The candle’s flame heats up molecules in the air above the candle. Heat is a form of energy, and when air gets warmed up, it rises. The air above the candle rose above the colder air around it and exerted a force on the blade, which makes it move. A force is something that pushes or pulls on something else. Since each blade is slightly tilted, this push from the air causes the blade to move sideways and spin around the shaft. Each blade that moves above the flame also gets pushed by the hot air, so the carousel just keeps spinning and spinning.
This is very similar to a wind turbine, which converts wind energy into electrical energy. You can learn about wind turbines in this experiment.
Extension:
Why is it important for the blades to be slightly tilted for the carousel to work?
Can you think of any other examples of convection being used? One example is a hot air balloon.

