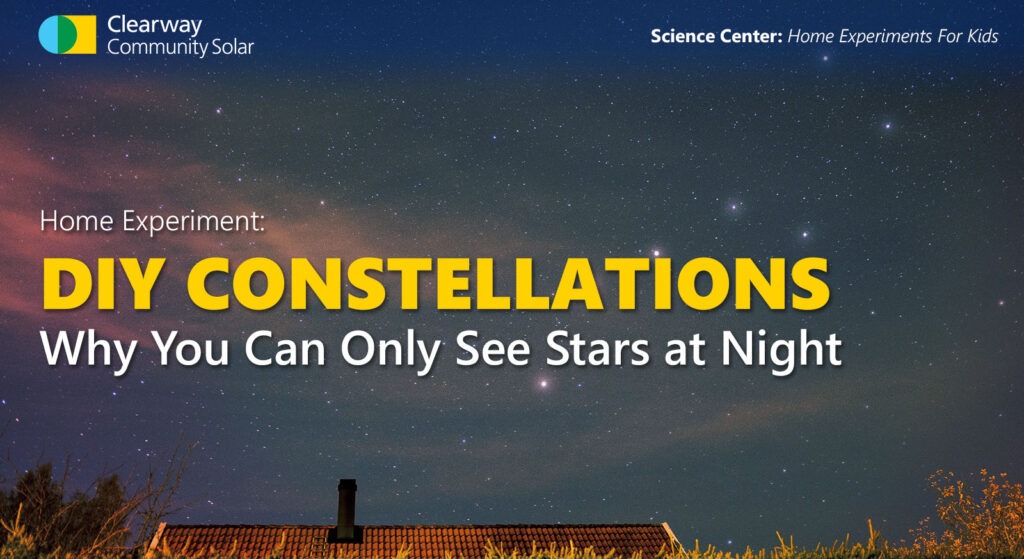
WHY CAN YOU ONLY SEE STARS AT NIGHT?
Parental Note: This experiment is geared towards ages 6 and up. For best results, do this project at night.
Additional Note: This experiment will take about 1 hour to complete.
Experiment Overview:
Have you ever gazed at the stars on a dark night with clear skies? Those stars are made of burning gasses. They are hot, and they shine bright. Stars have helped ancient explorers navigate the seas at night, and humans have been fascinated with stars and constellations (groups of stars) for centuries.
When you look up at the sky during the daytime, do you see any stars? The sun is a star, and you can, in fact, see the sun in the sky during the daytime (though you should never look directly at the sun). You can see the sun so well because it is closer to Earth than other stars in the sky. But why can’t you see any other stars? Well, the light from the sun has a lot to do with why you can’t see the other stars, which are much further away from Earth. You see, the sun’s bright light reflects off of particles in Earth’s atmosphere and blocks out the light from other stars that are not as bright.
In this DIY home project, you will create your own constellations and run a small experiment to test how well you can see the stars with and without sunlight. This is also a great way to learn some fun facts about different constellations in your night sky.
Experiment Materials:
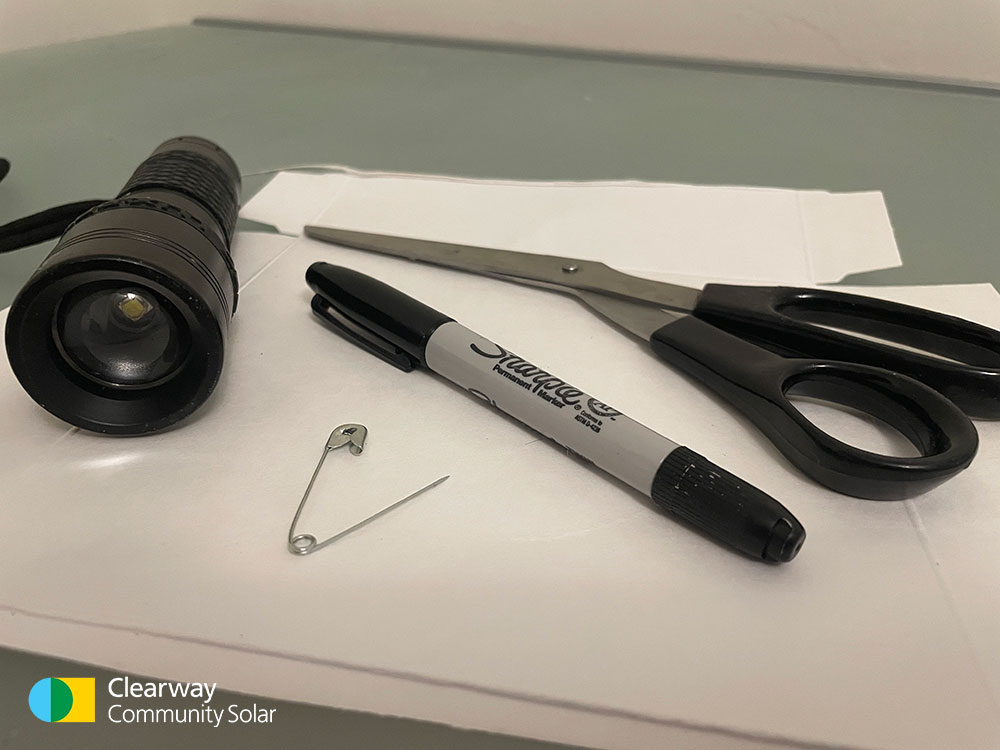
- Poster paper or thin scrap cardboard (such as from a cereal box)
- Scissors
- Sharpie
- Thumbtack or safety pin
- Flashlight
Experiment Process:
Step 1
Research constellations that can be found in the sky above you at night. Pick your favorite ones. Here is a great resource to find out which constellations can be viewed at different times of the year. Here are some pre-made constellation templates you can print if you don’t want to draw your own.
Step 2
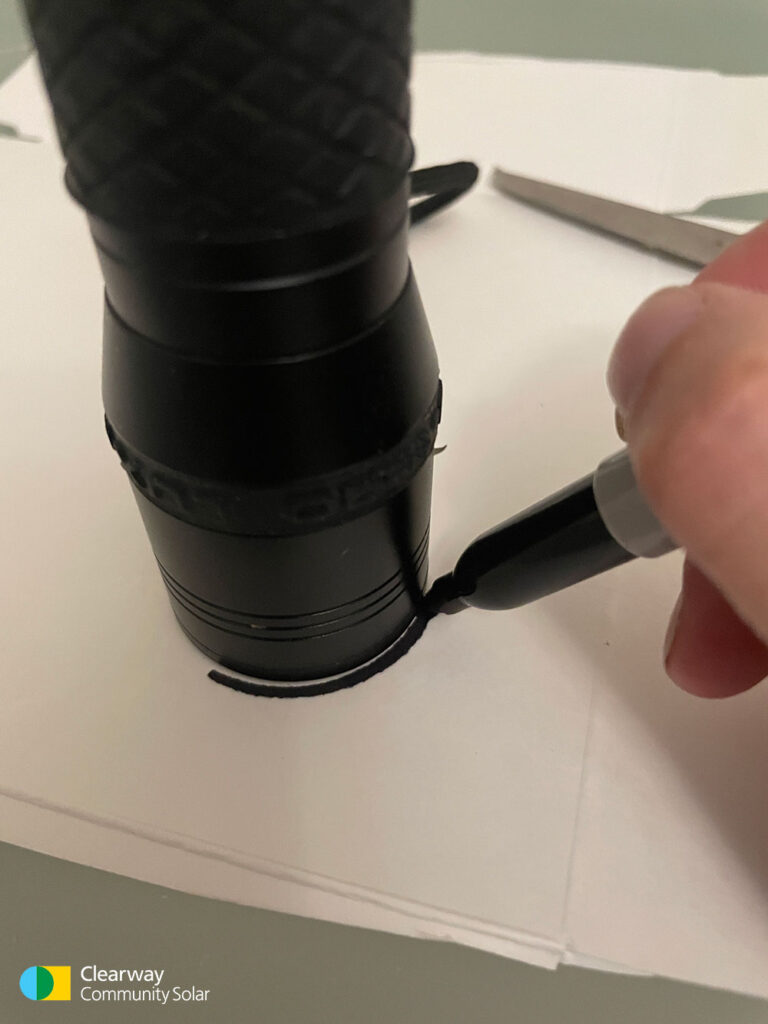
Use the head of your flashlight to trace some circles onto your cardboard or poster board.
Step 3
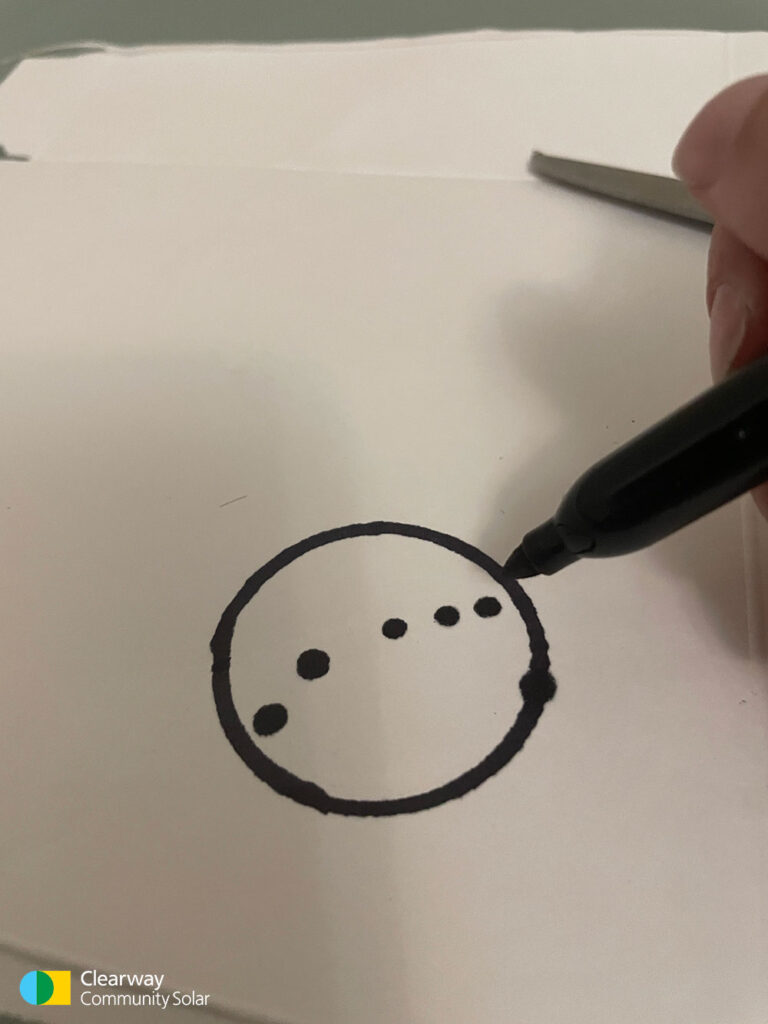
Within those circles, place dots where the stars that make up your constellation go. Then connect the dots with a thin line. You can also use the templates if you printed those out.
Step 4
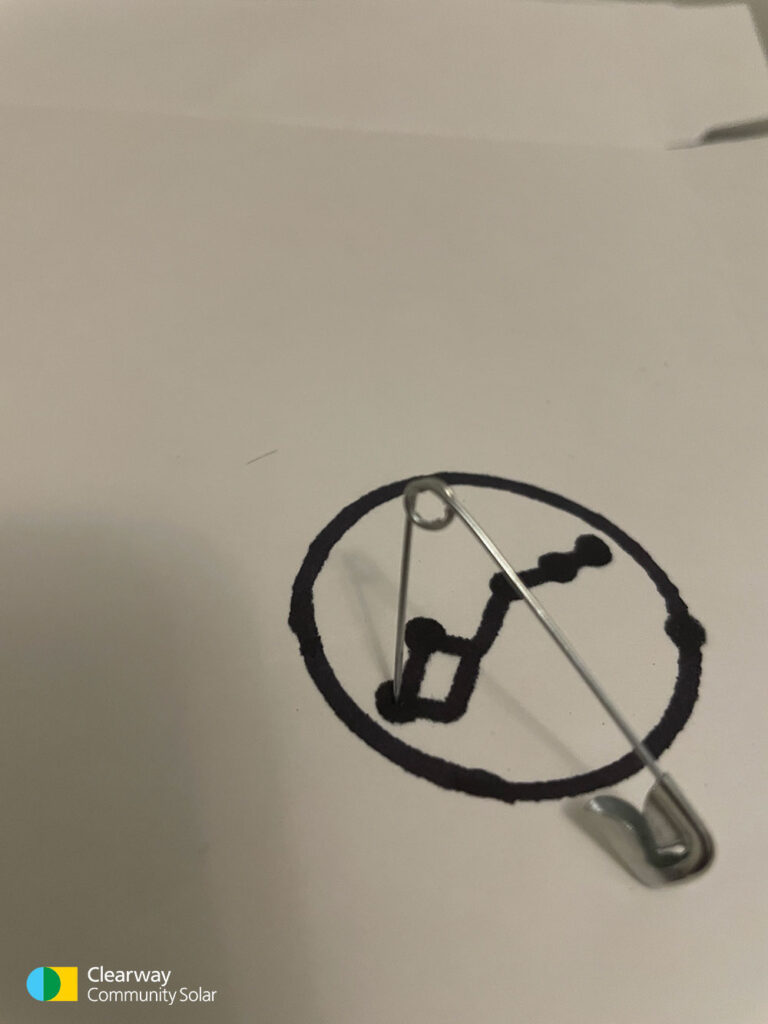
Ask an adult to carefully pierce a hole in each star spot on the constellation circle using a push pin.
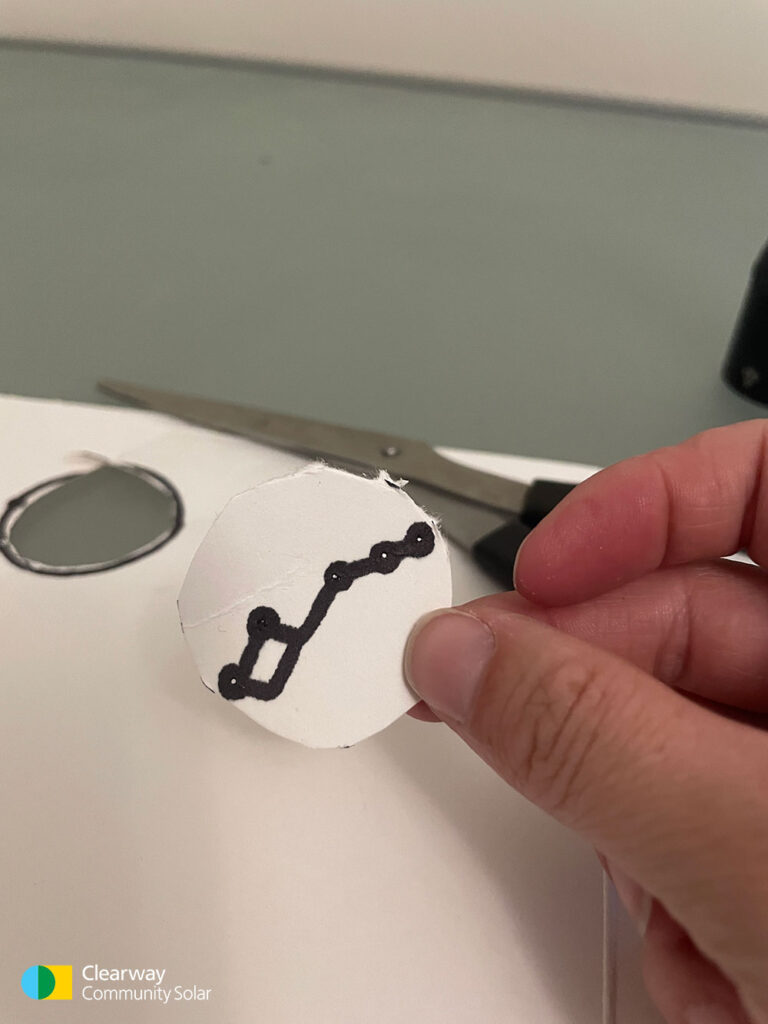
Step 5
Cut out your circles. If the cardboard you used is very thin, you may need to use the Sharpie to color the surface of the circle black. This way the light is only able to pass through the holes that you poked.
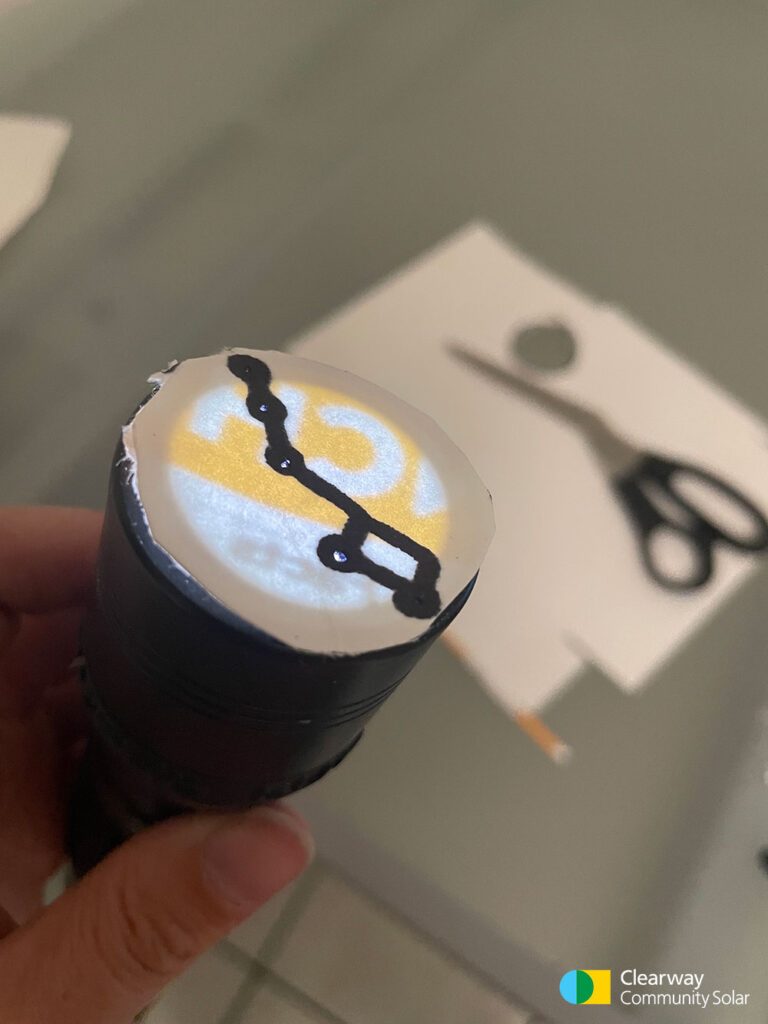
Step 6
Leaving the lights on inside your home, turn on your flashlight and place the circle inside the front edge of the flashlight so the light shines through the pierced holes in the paper.
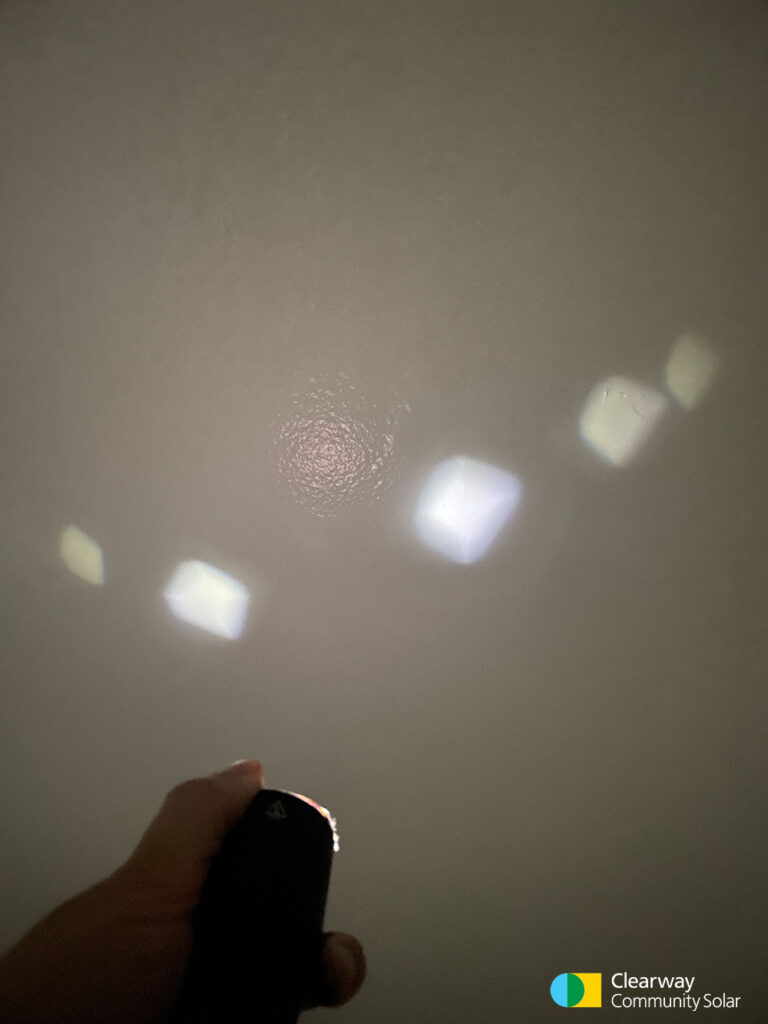
Step 7
Now, turn the lights in your home off, leave the flashlight on, and point at the wall.
Step 8
As each constellation is shown on the wall, go online to look up and read the corresponding constellation story.
Share Your Results:
- Were you able to see the constellations of stars when your home lights were on (when the sun was shining)? Why or why not?
- What happened when you turned the lights off and turned on the flashlight in a dark room?
Conclusions:
Stars are really hot balls of gas located within galaxies that shine very bright. The color of a star depends on how hot it is. Hotter stars emit blue light and cooler stars emit more reddish light. Since the sun is the closest star to Earth, its light reflects off particles within Earth’s atmosphere during the daytime.
Similar to the way you couldn’t see the constellations when your home lights were on when the sun’s light is shining, it is not possible to see the light from other stars that are farther away, even if they are hotter and brighter than the sun. But when the lights inside are turned off (or the sun goes down), we are able to clearly see other stars in the night sky.

