Learn how batteries work and experiment with ways to make your homemade battery even more powerful
Parental Note: This experiment is geared towards ages 8 and up to be completed independently. The project may require some support to gather materials and use a multimeter.
Additional Note: This experiment will take roughly 45 minutes to complete; this calculation takes into consideration both setup time and the time needed to collect and analyze data.
Experiment Overview:
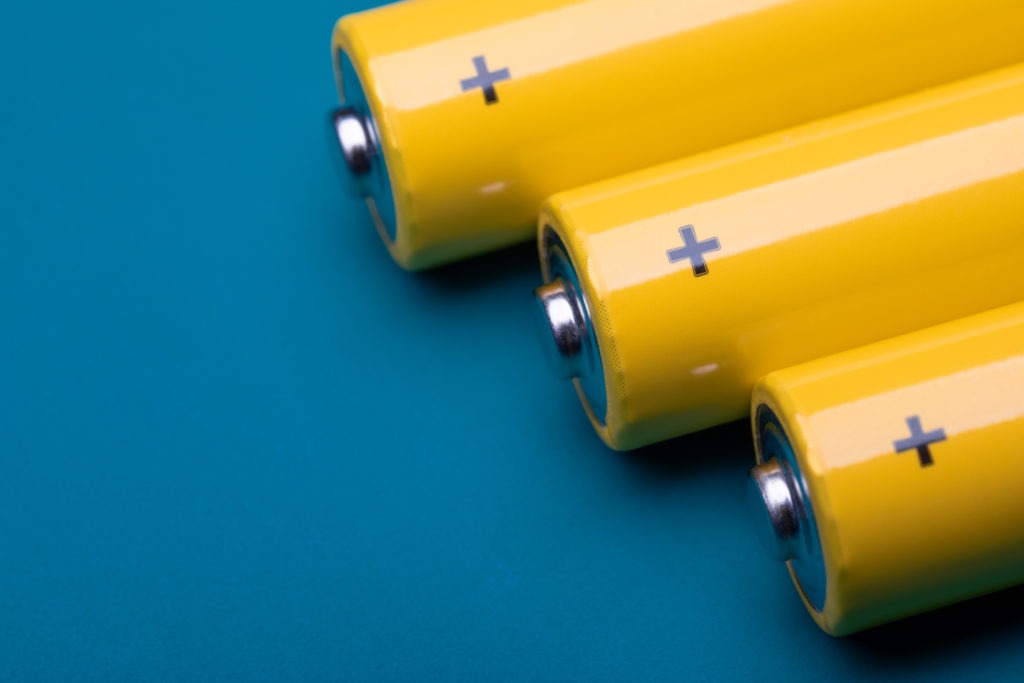
If you need to power an electronic device and want to be able to carry that device around with you, you will need batteries. A battery is a device that converts chemical energy (chemical reactions) into electric energy. Batteries require three main parts: 1) the anode is the negative side of the battery and is where electrons (negatively charged particles) flow out of, 2) the cathode is the positive side of the battery where electrons flow into, and 3) an electrolyte is the liquid or gel substance that reacts with the anode and cathode. The presence of the electrolyte causes electrons to flow from the anode to the cathode. When electrons move, they carry electrical energy from one place to another. This is called an electric current. An electric current is a type of kinetic energy (the energy something has because it is in motion). For an electric current to happen, there needs to be a circuit. A circuit is a closed path or loop around which an electric current is able to move.
In this experiment you will create your own batteries using zinc nails (anode) and copper wires (cathode), and test out different electrolytes to see which combination produces more electric energy. To test the strength of your batteries, you will use a device called a multimeter or a volt meter to measure the voltage (the electrical potential) in your battery. The higher the voltage, the more powerful the battery.
Before you begin, answer the following questions:
- Draw a diagram of a simple battery and label the three main parts. Place a plus sign (+) next to the end labeled “cathode”, and a minus sign (-) next to the end labeled “anode”.
- Why do you think it is important to roll and squeeze the lemon and lime to make them more juicy before starting this experiment?
- Which electrolyte do you think will cause a bigger chemical reaction and produce more electric energy (the potato, lemon, or lime)?
- What do you think will happen when you add more anodes and cathodes onto your battery?
Experiment Materials:
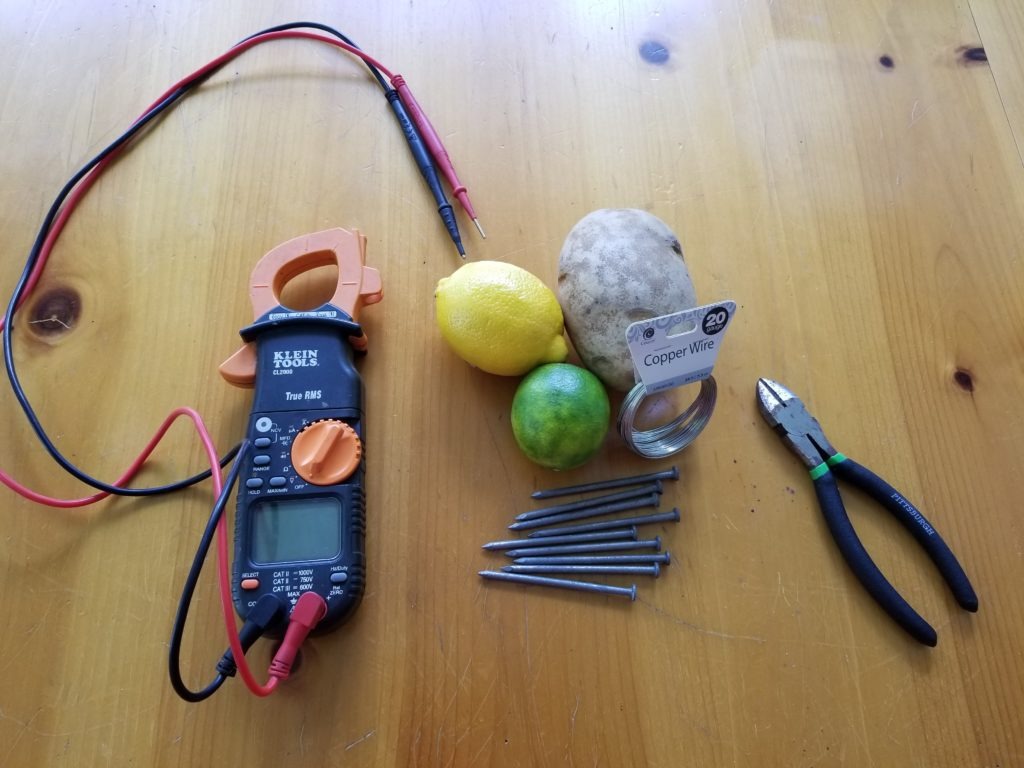
- Copper wire
- Zinc nails
- Lemon
- Lime
- Potato
- Wire cutter
- Multimeter to measure voltage
Experiment Process:
Step 1
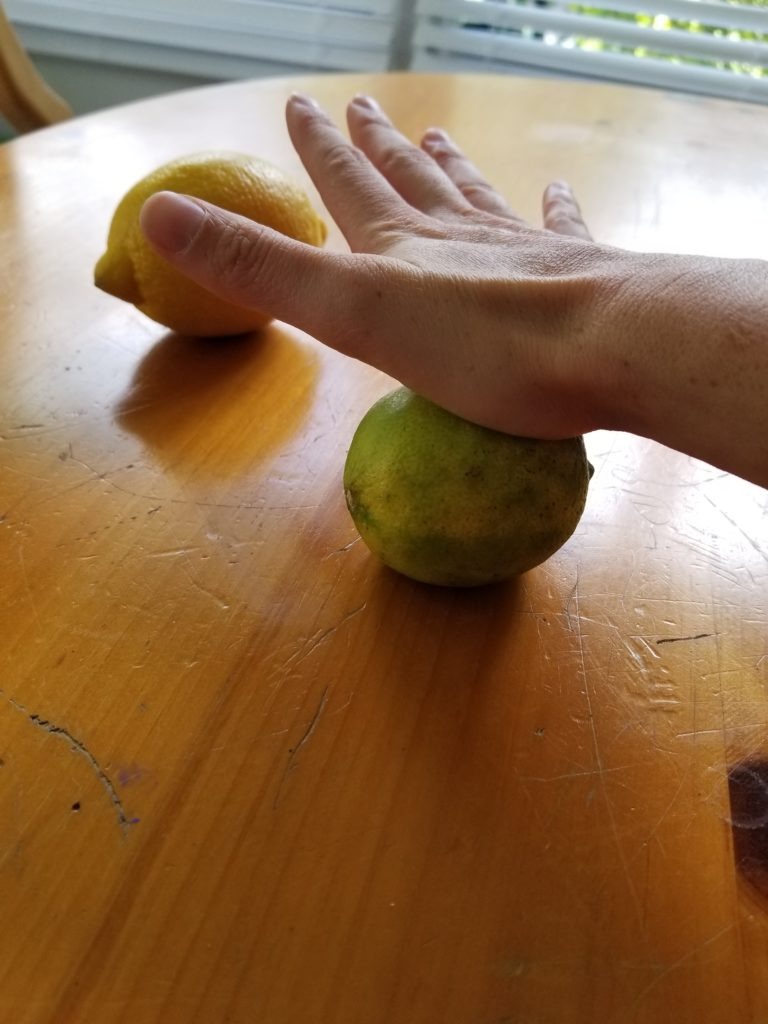
Roll the lemon and lime on a table to break the cell walls and make the insides more juicy.
Step 2
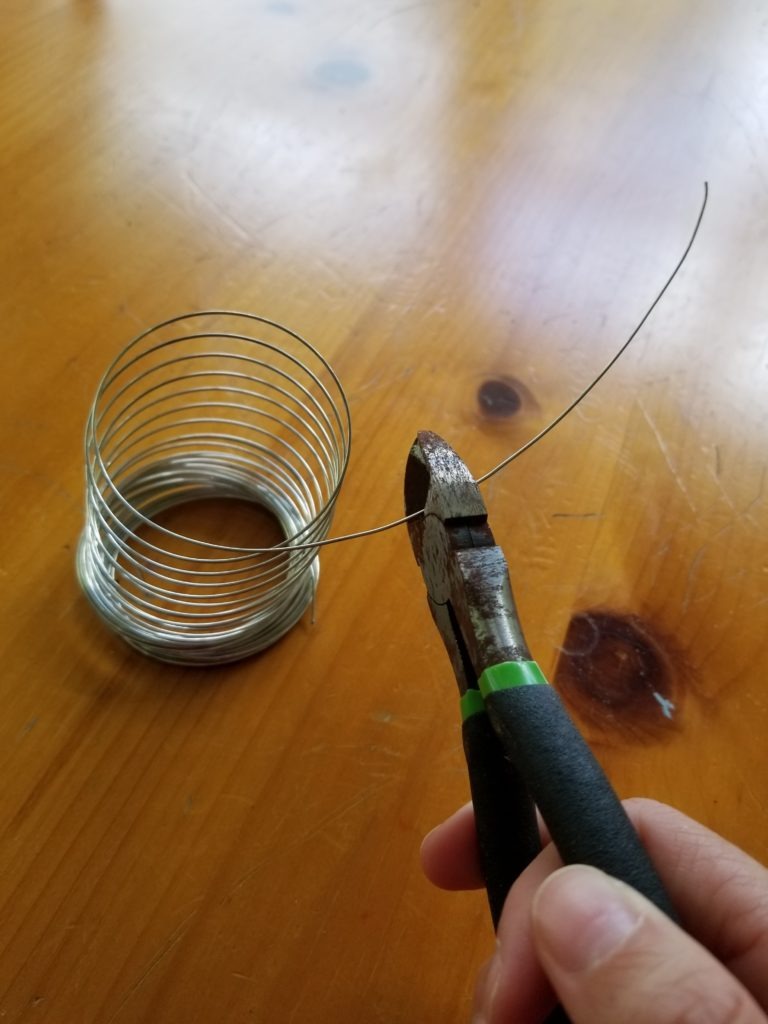
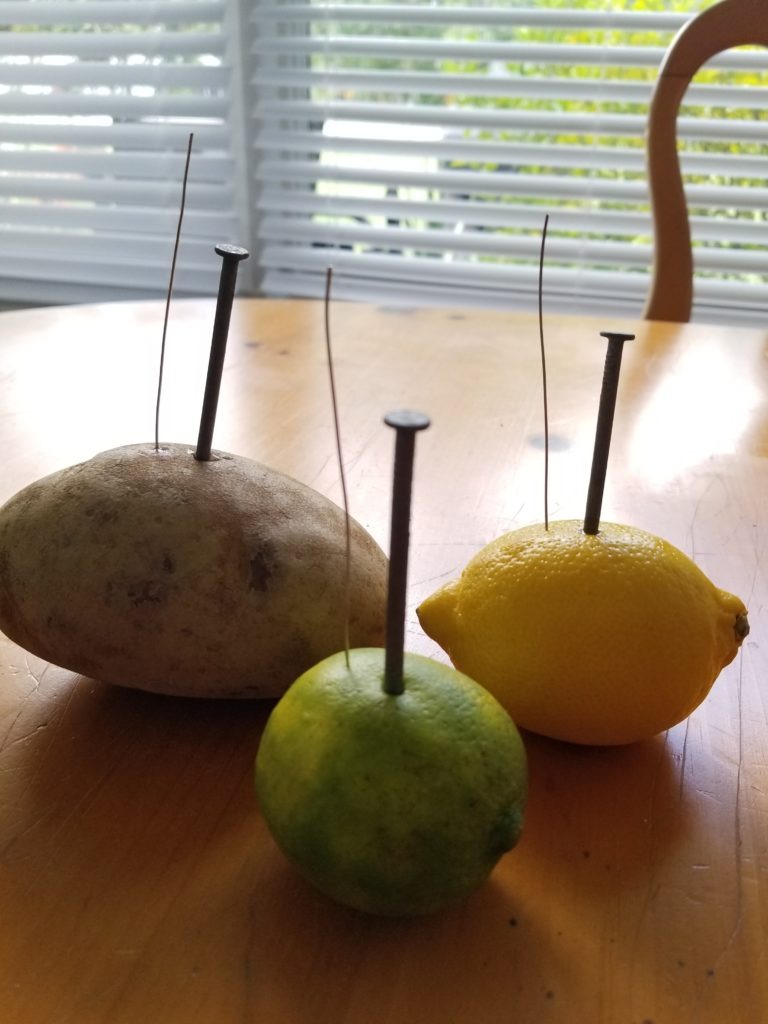
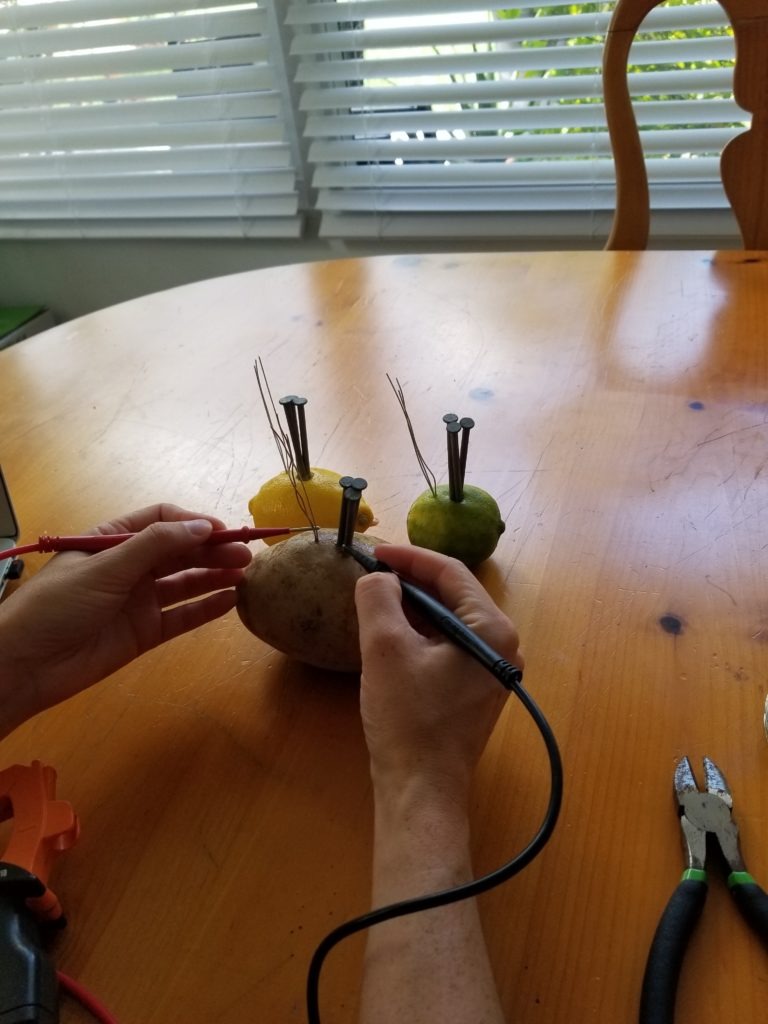
Cut three pieces of copper wire. Stick one in the lemon, another in the lime, and another in the potato. Make sure the wire is about one inch deep into each one.
Step 3
Stick one zinc nail into the lemon, another in the lime, and another in the potato. Make sure the zinc nail is placed about ¼ – ½ inch away from the copper wire in each battery, but make sure they don’t touch.
Step 4
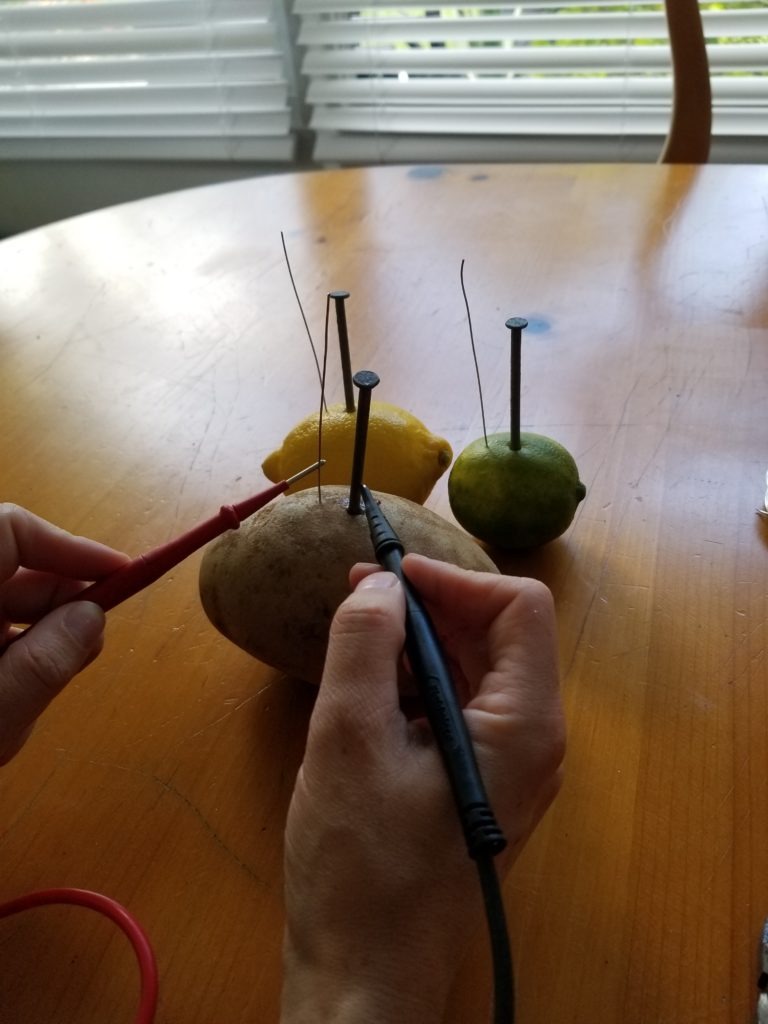
Connect the multimeter’s positive and negative leads to the nail and copper strip to measure how much voltage is produced. Record your results in a data table. Which of the three batteries has the highest voltage?
Step 5
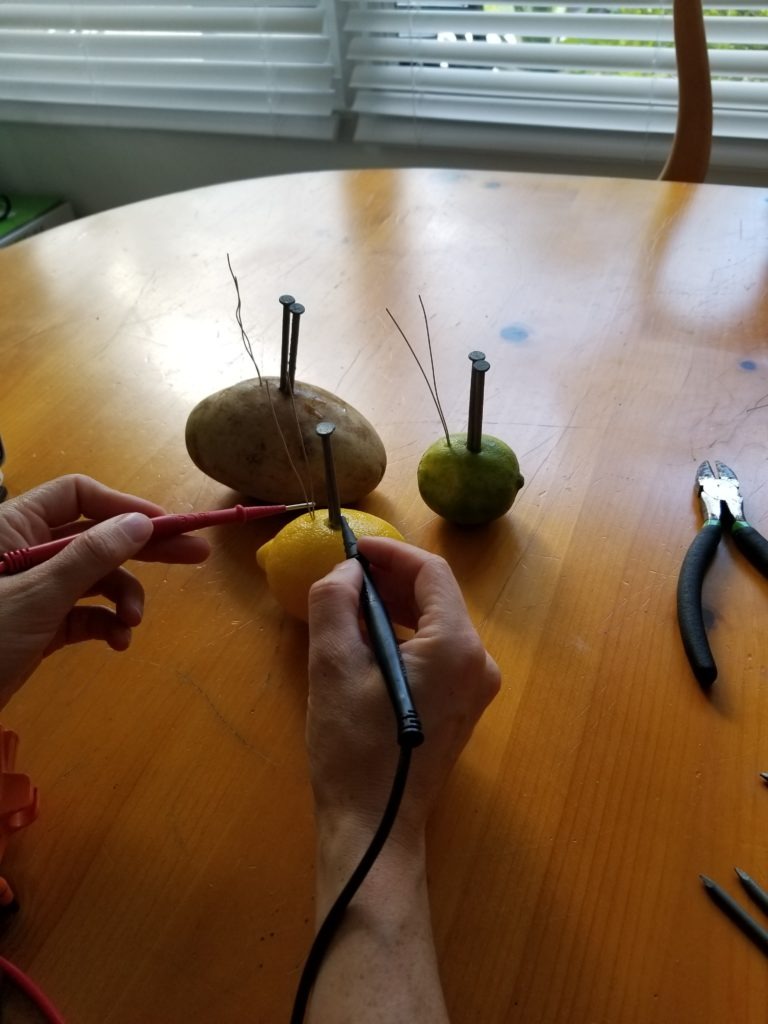
Now add a second zinc nail and copper strip to each of your batteries. Use the multimeter to test the voltage of your batteries again. Record your results in the data table. Did the voltage increase or decrease?
Step 6
Repeat steps 5 and 6 to add a third zinc nail and copper strip and test the strength of your battery. Record your results.
Conclusions:
Share Your Results:
- In the first experiment, which electrolyte caused a bigger chemical reaction and produced the most voltage, the lime, lemon, or potato?
- What happened when you added additional anodes and cathodes to each of your batteries?
Conclusions:
When you place a zinc nail in the potato or lemon, a chemical reaction occurs that produces a surplus of electrons. Copper, which has fewer electrons, attracts them. This causes electrons to flow in an electric current.
The potato, lemon, and lime are not energy sources themselves. You can’t just plug your cell phone into a potato and expect it to start magically charging. These foods conduct electric energy by acting like a bridge between two metal objects with differently charged particles. The potato, lime and lemon are electrolytes, or things that conduct electricity. But what properties make something a good electrolyte? Well, first let’s see what these three electrolytes have in common. Lemons and limes contain citric acid, and potatoes contain phosphoric acid. The acids in their juices have lots of hydrogen ions in them, and those free ions are what make them good conductors of electricity.
Adding more anodes and cathodes to the battery causes more chemical reactions to take place between the zinc and the acidic juices, which causes the voltage output of the battery to increase.
Extension:
Rolling the lemon and lime before starting the experiment made the fruit more juicy, which means there was more acid for the zinc to interact with, making the battery stronger. See if you can make your potato battery even more powerful. Boil your potato for eight minutes, let it cool until you can touch it without burning your fingers, and try inserting your anode and cathode and testing the voltage.
Which is a stronger electrolyte, the raw potato or the boiled potato? Any ideas why? Think about what it is that makes something a good conductor of electricity. What must have happened inside of the potato to make it a better electrolyte? Learn how boiled potatoes are being used as a cheap energy source in underdeveloped communities that do not have an electric power grid.
Acids aren’t the only type of electrolyte out there. Potassium is also a strong electrolyte. Can you think of any fruits that contain potassium? Try using them in your battery as an electrolyte and see what happens. Compare your results from the potassium-based batteries to that of the acid-based batteries.

